
I really can't explain how amazing and wonderful and amazing it's been watching him progress through his college career. Amazing. I'm repeating myself, but I'll assume I'm forgiven since this has been one incredible year.
To celebrate him, I made a quilt. First, let me say I've never made anything of this magnitude before. I've made small quilts, as gifts, before. Small, as in wall hangings. And I've learned that quilting is not my special gift. Or should I say, making the seams line up is not my special gift. So, when I got it into my head that only a quilt would do to mark such an occasion some were skeptical. Okay, I was skeptical. But, the idea would not go away.
I have seen some amazing quilts in the blogging world and was inspired by strip quilts. No need to match the seams! After some perusal, consideration and pondering I jumped in with both feet. This was my plan... My graduate is a music major so I intended to buy any and all music themed fabric. I've used this type of fabric before and know it's usually black and white, so black and white was my planned color scheme. I was also going to embroider panels with images and words personal to him.


I found some music fabric at the store, but not enough, so I started looking online and found Fabric.com with several amazing fabric choices that I ordered. The arrived quickly and were top quality. I give them 2 thumbs up!
I started embroidering. My sewing machine is a combination sewing/embroidery, so I wanted all the embroidery to be finished before I started sewing. It took the better part of two days - I kid you not. The most challenging was getting his name as large as I wanted


It was during the embroidery process that I settled on 3 inch strips which would have a 2.5" finished size. Most of the images fit inside this parameter, but some did not. Once the fabrics were washed and ironed, I began cutting the strips. The fat quarters were fairly straight forward. I folded them all the same way, so the strips were roughly the same length. I decided to cut the full yards, ordered online, the full width of the fabric as they would help balance out his name panel, which stretches about 30 inches across. I did some math to determine how many strips I needed - basically, number of rows needed for the length I wanted multiplied by the number of strips it would take to make the row the width I wanted. I was counting on leftover fabric to be used for the back, which I did not want to strip piece, so I erred on the side of too few and ended up cutting three more strips to finish the quilt.
Next came seaming everything together. I just began picking up strips and sewing, adding embroidery as I went. I was flying by the seat of my pants and I thoroughly enjoyed the process. About half way through I thought, "hmmm... maybe I should see how these will look together." Yes. Half way. Can you tell I'm a novice or what? So, I cleared some space in the studio and started laying them out. I could immediately see which strips all roughly the same length, those pesky seams were awfully close together. Dang. If I left it that way, it would look like I couldn't match a seam to save my life, which though true I did not want the quilt to look like that. So, I began adding a little here and there or cutting through a strip to sew to something else.


I also used another YouTube video for learning how to machine quilt a large quilt on a standard sewing machine. Seriously, you gotta love YouTube and the amazing people who share their knowledge! Basically, when all the layers were together, I pinned and pinned and pinned - with safety pins. Then I rolled up the quilt, put the walking foot on, and stitched along each seam from side to side. Now this was more complicated than it sounds as there was so much fabric. I'd stitch, pause and adjust, stitch some more. It took a long time and my arms got quite a work out! But, of all the steps thus far, this went the quickest although it was 4 hours worth of work.
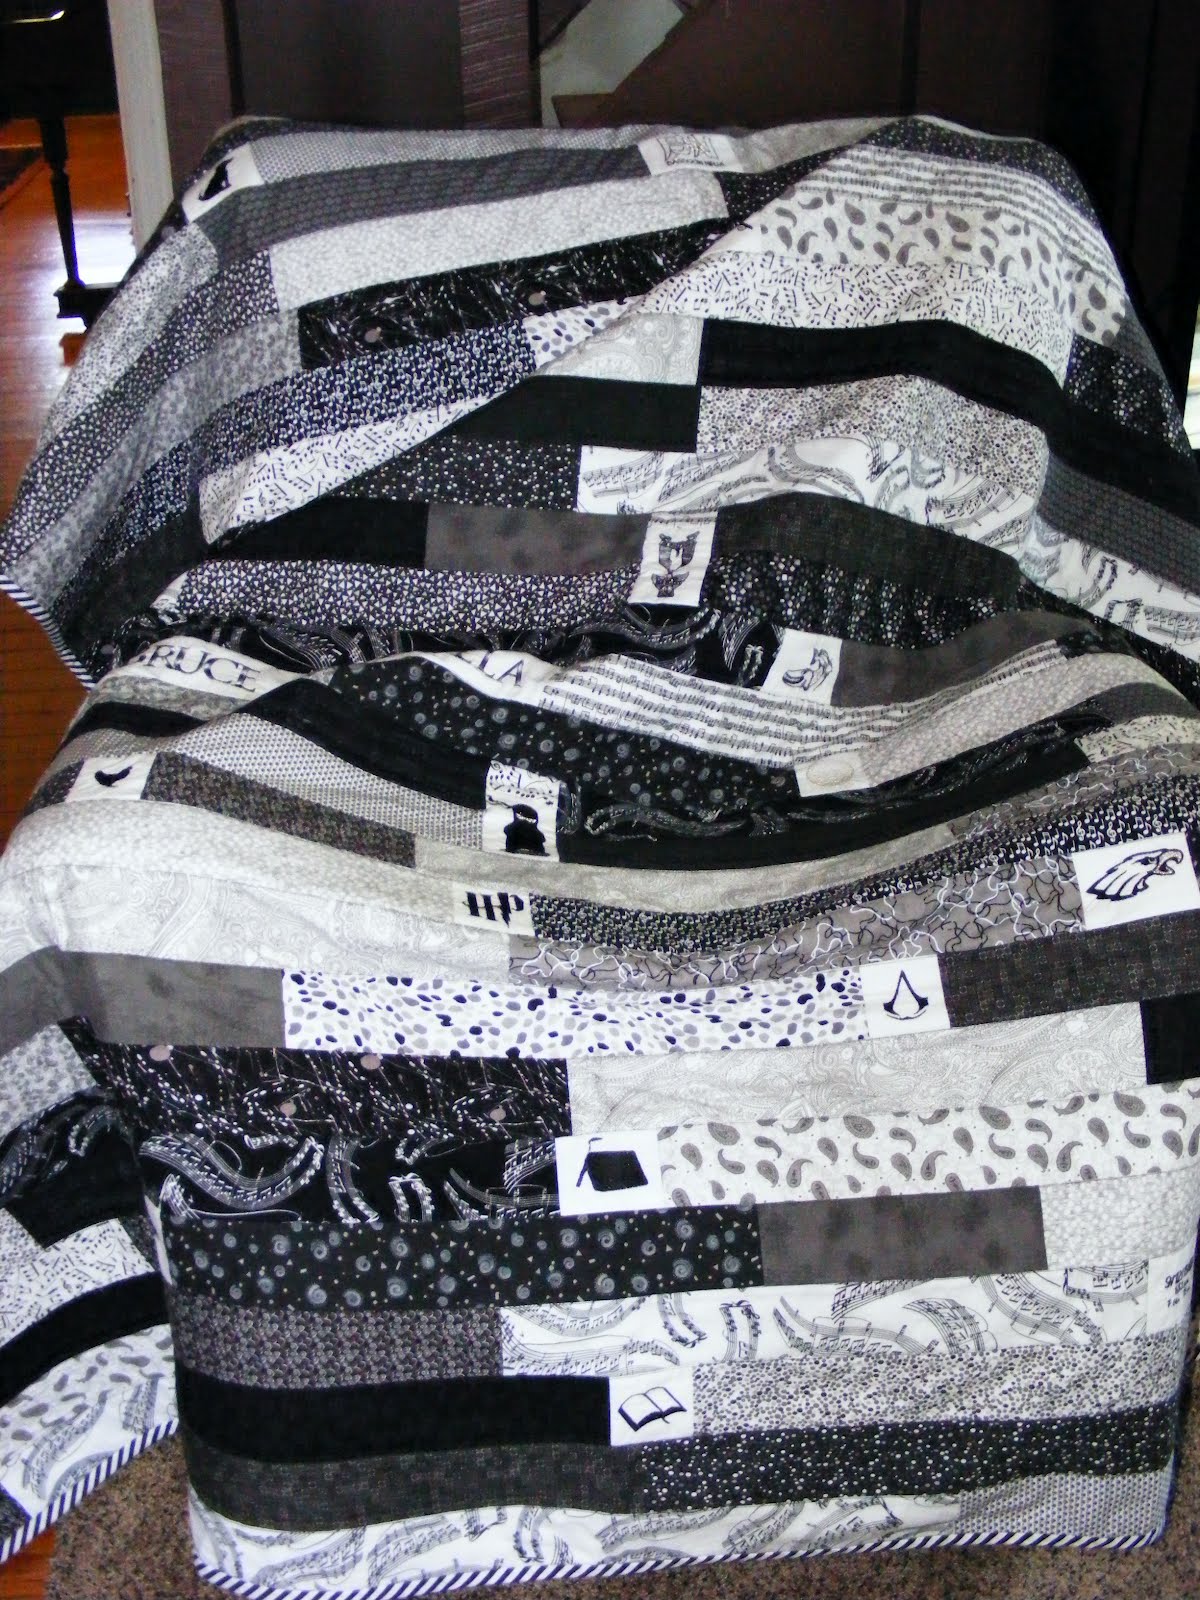
So this is the finished project. I am pleased and proud of the project, but more importantly I'm thrilled because my son loves it, because it marks a big life event, and because he will be wrapped in love each and every time he uses it. ♥